
When I cook a whole chicken or make fried chicken, Munchkin is all about the drumsticks. She’s been that way for as long as I can remember. She likes the chicken breasts, but if there are drumsticks, she’ll take those first.
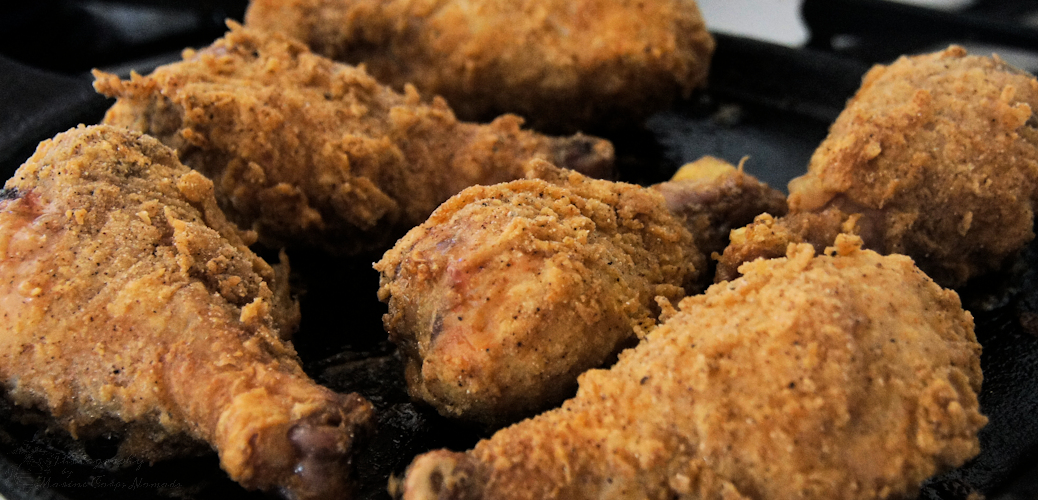
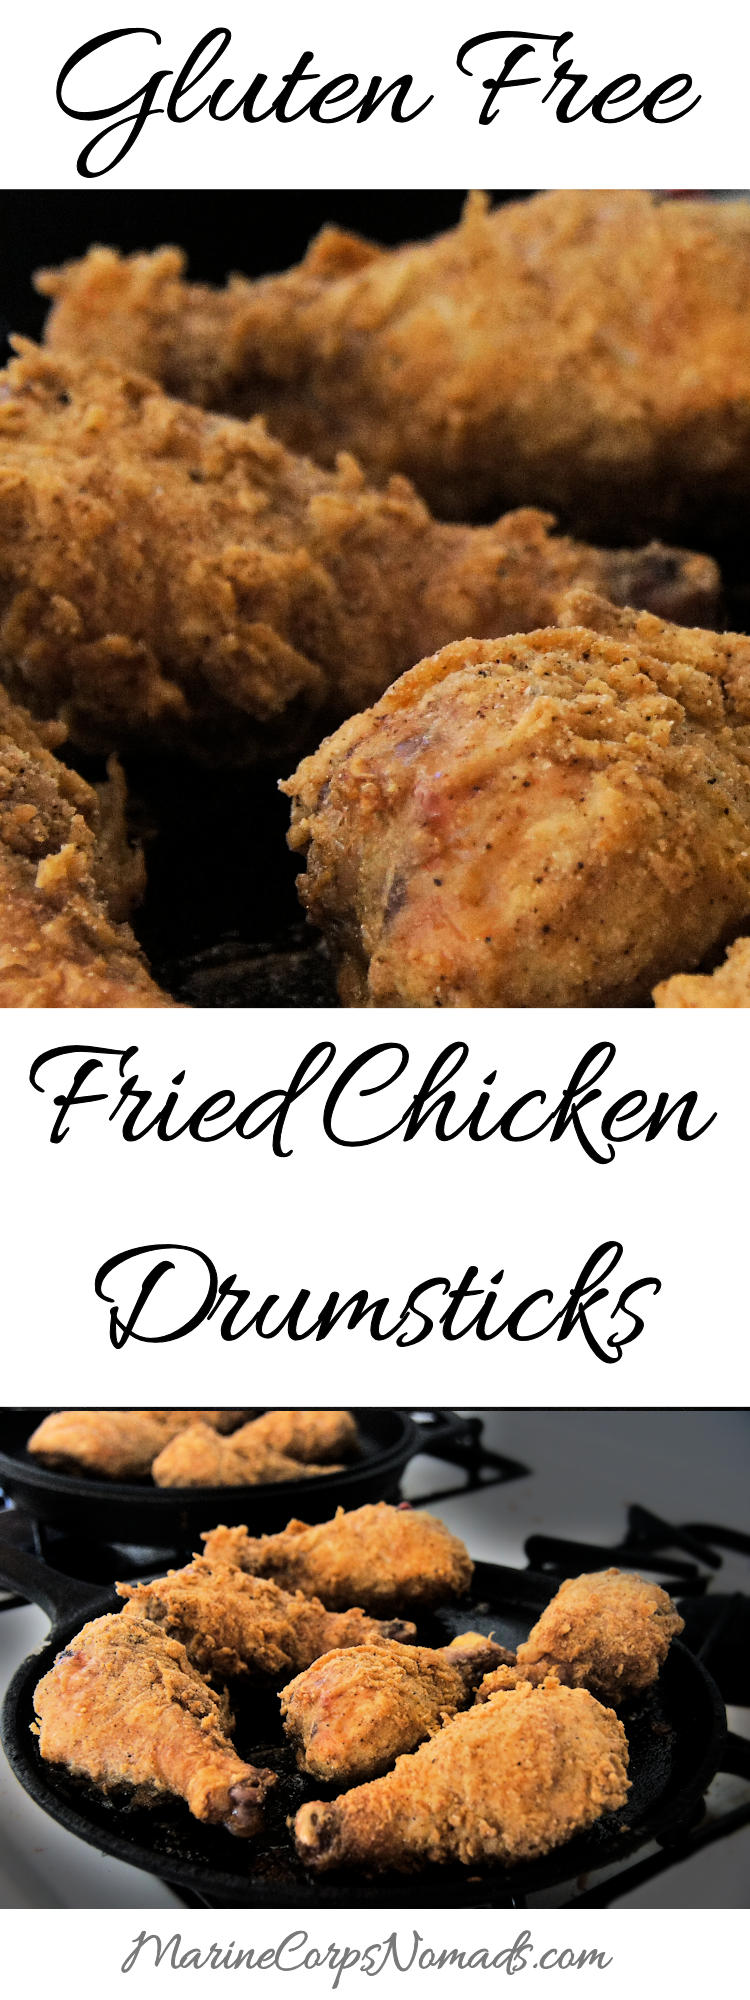
Recently, I found an excellent deal on organic chicken drumsticks, so I snagged several packages with plans to make gluten free fried chicken for the family. (Note: I’m not a fan of fried chicken with the bone in, but I make it because I know how much they enjoy it.)
Because I’m not great about exact measurements and tend to eyeball things, the measurements are all approximate. You can easily make adjustments based on your family’s preferences. You have a couple of options for frying. You can either deep fry the chicken or pan fry it, and then finish it up in the oven.
I like to soak the chicken in buttermilk overnight as I feel the chicken drumsticks end up moister, but it’s not a critical step. The next day, I take them out of the fridge and wash them before adding the coating.
When it’s time to make the fried chicken, I set up an assembly line with two medium-sized bowls and a large sheet pan covered with foil or parchment paper. Place the eggs in a bowl and beat them. Put all of the dry ingredients in the other bowl and mix until they are thoroughly combined.
Now the fun begins. If you don’t like to get your hands messy, I recommend wearing gloves. Dunk the drumsticks in the egg and then dredge them through them in the flour mixture. My two like extra crispy chicken, so I repeat the process to create an extra thick coating. Once coated, I set aside the pieces on the baking sheet until I finish coating all of the drumsticks.
To allow the coating to set up, I let the coated drumsticks rest for 15-20 minutes before frying. During this time, I heat up the oil for frying and heat up your oven to finish off the cooking process.
When deep frying, I place a few pieces at a time in 365-degree oil for roughly 5 minutes to 10 minutes depending on the size of the drumsticks you are using. I look for the drumsticks to be golden brown and crispy. At this point, the meat near the bone will not be cooked which is why I finish them off in the oven.
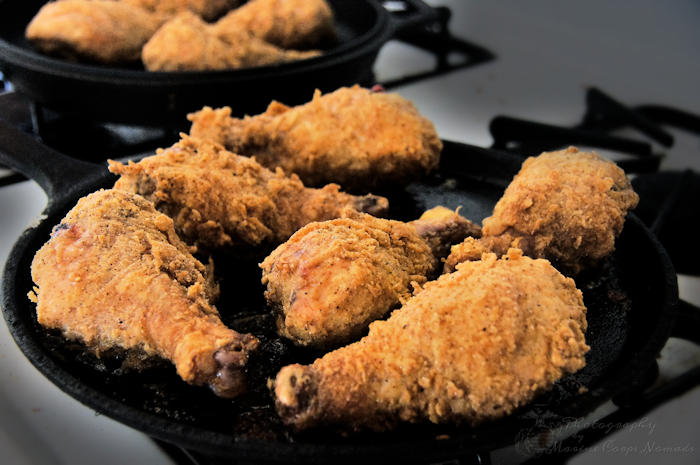
When pan frying, I heat up the oil in my cast iron pan until it reaches roughly 365 degrees and then turn down heat to medium. (If oil seems to cool too much, turn up the heat between batches to achieve the correct frying temperature.) Carefully add a few drumsticks to the pan. Cook for 5 minutes on each side until they are crispy and golden brown.
As the drumsticks come out of the fryer/pan, place drumsticks on a cooling rack with a paper towel underneath to catch any drips. To finish the cooking, I place drumsticks in cast iron pans and bake at 350 degrees until internal temperature of drumsticks reaches 165 degrees.
When written down, the entire process looks time-consuming, but it goes quickly once you get into a rhythm. You can make a good number of this in a fairly short period of time. By frying and then finishing in the oven, you end up with very juicy drumsticks.

Ingredients
- 1 cup Amaranth flour
- 1/3 cup Potato starch (corn or tapioca starch would also work)
- 1/2 tsp paprika
- 1/2 tsp garlic powder
- salt to taste
- 1/2 tsp pepper
- 3 eggs
- 3 lbs. chicken drumsticks
- buttermilk (optional)
Instructions
- Wash chicken thoroughly. If desired, soak in buttermilk over night or for several hours in the fridge. When you're ready to prepare the chicken, you'll need to wash it again before adding the coating if you do the buttermilk soak.
- Preheat oven to 350 degrees.
- In one bowl, beat eggs.
- In another bowl, combine the amaranth flour, potato starch, paprika, garlic powder, pepper, and salt.
- Dunk the chicken in the egg and then dredge it in the flour mixture. Set aside the pieces until they have all been coated. Allow to sit for 15-20 minutes before frying. During this time, you'll heat up your oil for frying.
- If you want extra crispy chicken, you'll just repeat this process, so you have an extra thick coating.
- If you are deep frying, you place a few pieces at a time in 365 degree oil for roughly 5 minutes to 10 minutes depending on the size of the drumsticks you are using. You want them to be golden brown and crispy. At this point, the meat near the bone will not be cooked which is why we're finishing them off in the oven.
- If you are pan frying, heat up the oil in your cast iron pan until it reaches roughly 365 degrees and turn down heat to medium. (If oil seems to cool too much, turn up the heat between batches to achieve the correct frying temperature. Carefully add a few drumsticks to the pan. Cook for 5 minutes on each side until they are crispy and golden brown.
- As the drumsticks come out of the fryer/pan, place drumsticks on a cooling rack with a paper towel underneath to catch any drips.
- Place drumsticks in cast iron pans and bake at 350 degrees until internal temperature of drumsticks reaches 165 degrees.
- Remove from oven and serve. Be careful as these drumsticks will be super hot.

This article was published in issue #128 of The Christian Home Magazine.
Twitter: sonasethi03
Wow! looks so delicious and thank you for such a comprehensive recipe. All the steps are nicely detailed.
Twitter: LauraLane1986
This looks absolutely delicious. I wouldn’t have thought to finish them off in the oven.
Visiting from The Christian Home magazine,
Laura Lane
Twitter: classyhomemaker
These look delicious! Thanks so much for sharing your recipe and method of preparation. I’ve heard that the buttermilk soak is a great first step. I’ll give it a try next time I make fried chicken.
Twitter: LynzieColler
Oh my! My mouth watered when I read this! Fried chicken is my favorite dish, and this is a wonderful recipe that I want to try! Thank you so much!
Your fried chicken sounds and looks crispy and good. I can almost smell the goodness! thanks for the tips!
Twitter: EverydayMomRach
These look great! I don’t really do gluten free, but these look like something my whole family would enjoy.
Rachel recently posted..12 Steps For Exterminating Lice