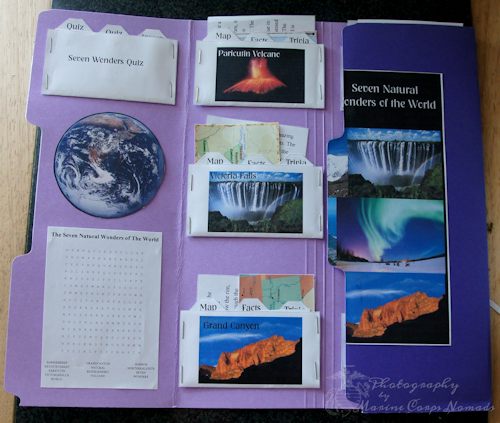
What is lapbooking?
I like to think of lapbooking as a learning and review tool all wrapped up in one nice little package. You don’t need a lot of expensive supplies and anyone from toddlers to adults can make them. Mini-books are used to contain tid-bits of knowledge that students learn during their studies. Lapbooks can also be used to create mini-desks or study tools for students of all ages. Once completed, the lapbooks serve as reminders on what the student has studied/learned during the school year.
When my daughter was younger, she enjoyed pulling out her completed lapbooks to show to grandparents when they came to visit. It was a fun, tangible item that allowed her to show them what she had been doing in school that year. As she was showing them her work, she was also reviewing the information that she had studied on that particular topic. For me, it makes a nice keepsake/portfolio of Munchkin’s work.
What supplies do I need?
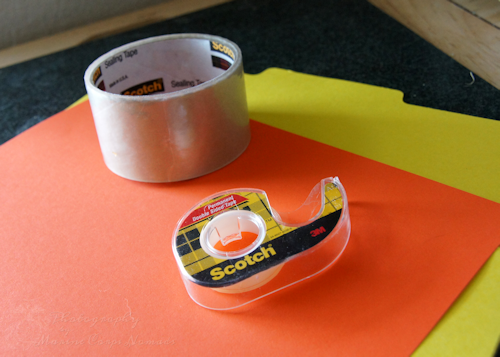
The basic supplies generally include file folders, cardstock, tape, adhesive, and the mini-books.
The mini-books are where students record all of the information. They can be very simple or rather complex. Some people fill in the mini-books as they go through the unit. Others prefer to use the mini-books as a review of the unit. All the mini-books are stored and then compiled into a lapbook. (You could place the mini-books into the lapbook as they are filled out, but I find that you end up with a nicer lapbook if you wait until they are all completed as it allows you to move the mini-books around to find the best placement in the lapbook. An alternative would be to place all the mini-books in the lapbook prior to filling them out, but some students may find it more difficult to fill them out when they are already glued in place. In addition, some mini-books are meant to be filled out and then assembled.)
There are additional ways to make a lapbook, but I’ll cover those in a different post.
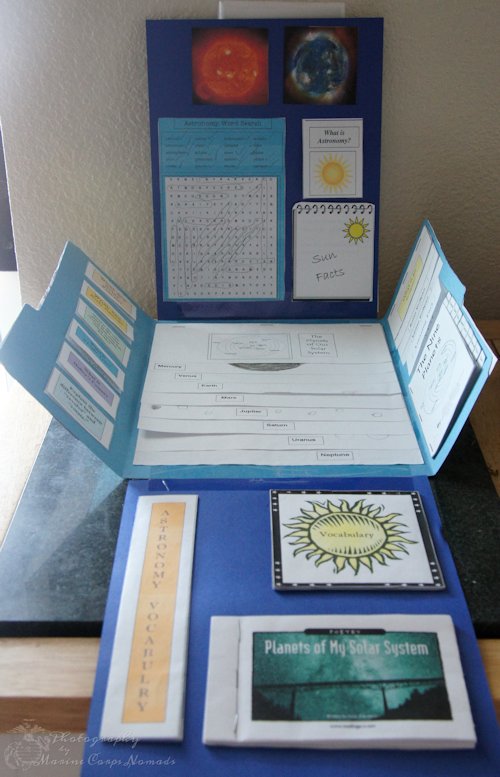
How do I assemble the lapbook?
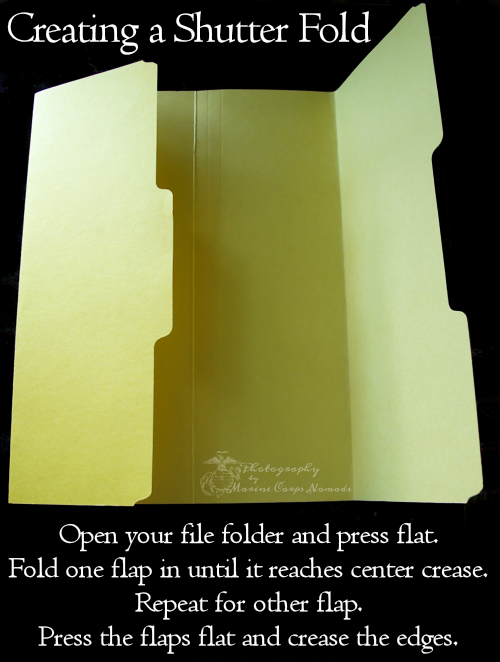
While it may look a bit complicated at first glance, assembling lapbooks is not that difficult. There really is no right or wrong way to do it. Your base is generally a file folder. You can leave it as is or you can create a shutter fold style. (The more we worked on the lapbooks, the more I leaned towards the shutter fold style just because it was a fun look.) You can also do a book style where you just combine several file folders together like pages of a book.
Once you decide which style you want to use, you can start adding the mini-books. I’ve found the best adhesives for attaching the mini-books are rubber cement, two-sided tape, and glue dots. Obviously, the cheapest way to go is the rubber cement. The rubber cement also works best for heavier mini-books. I don’t recommend glue sticks as the mini-books tend to fall off over time. School glue is fine, but Munchkin never liked how it wrinkled the mini-books.
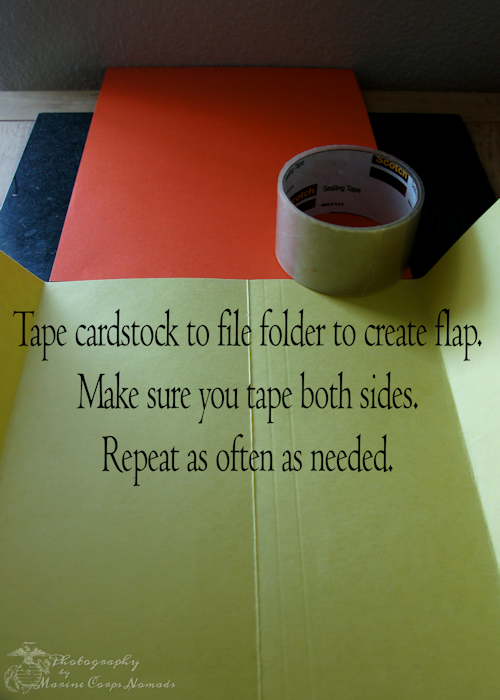
If you find that you don’t have enough room on your base for all of the mini-books, you can start adding extensions using cardstock. Use packaging tape to add as many extensions as needed to complete the lapbook.
To complete the look of the lapbook, you may want to add a cover image with a title.
In the next posts in the Lapbooking Made Easy Series, I’ll cover lapbook organization and storage and alternative lapbook methods.
I can recommend this as a valuable form of learning 🙂
Jen recently posted..Mondays Home Schooling Trip
[…] and grow. But, don’t take my word for it, you really need to read this post by my friend, Heather! I know you will be blessed by her words of […]
[…] Lapbooking Made Easy – Marine Corps Nomads […]