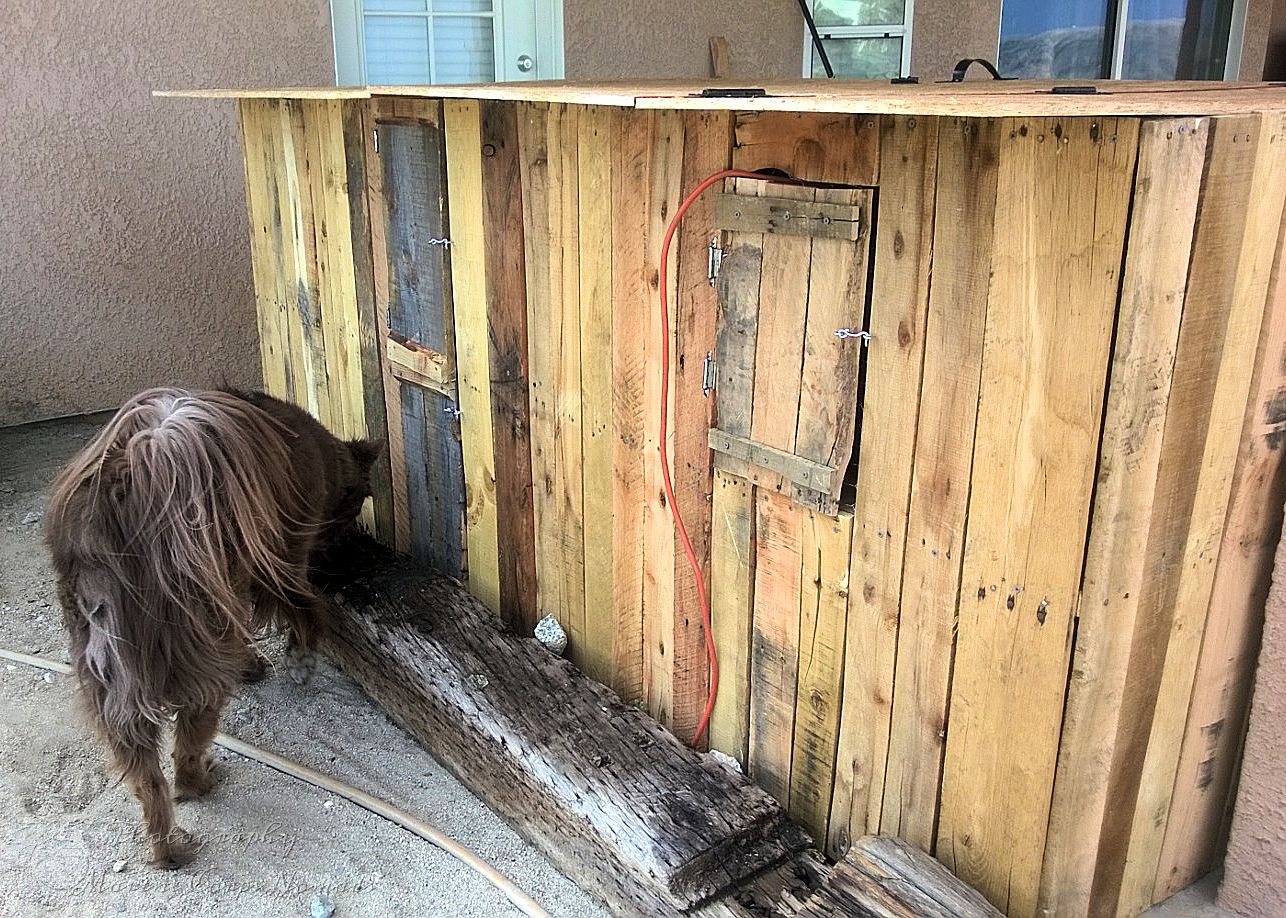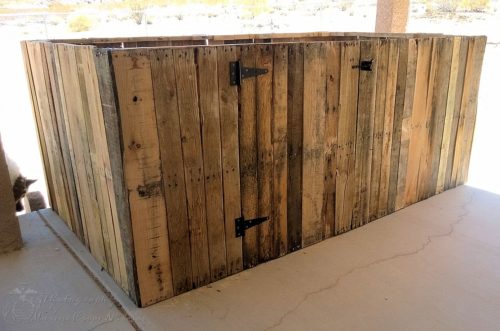
The door was a bit interesting to get hung properly, but thanks to some assistance from D, I got it done. I probably went with a little overkill on the size of the hinges, but I liked the way it looked on the door. 😉 I went with a simple gate latch. We secure it with a small carabiner clip as an added security measure.
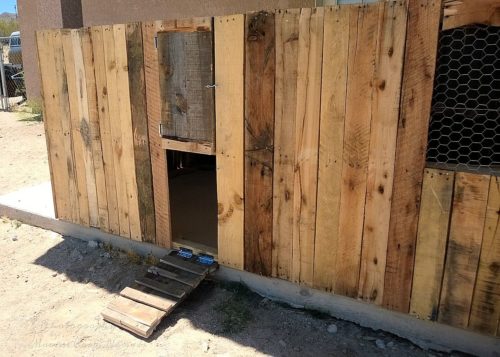
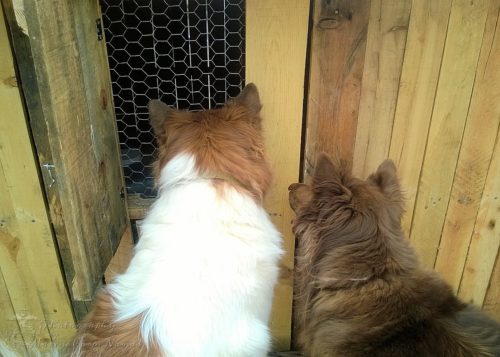
The one front panel has a window covered with chicken wire. (If it wasn’t in an enclosed backyard, I would have used hardware cloth instead. It keeps the dogs from getting in and the chickens from getting out. I then used old cabinet hinges to and some pallet wood to create a door for the window which is secured with a latch. The other front panel has another window with the same set-up. Right below the window is a chicken door that is also the ramp when folded down. It is also secured with a simple latch.
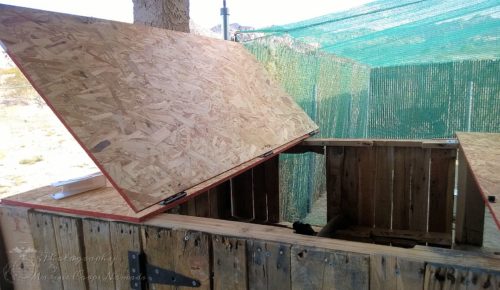
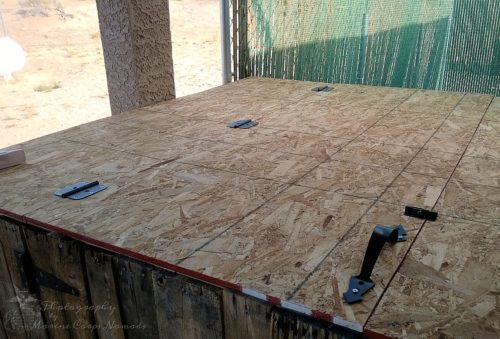
I wasn’t sure how I wanted to handle the roof, so D and I decided to go with something simple. It’s a basic flat roof as the coop is under a covered porch, and we don’t get much rain. We just used a couple of sheets of plywood. Because we wanted easy access to the coop, we hinged the roof where the door opens which allows us to walk into the coop. We put a nice large gate handle on it and secured it with a bolt gate latch.
I plan on using the deep liter method, so Munchkin helped me put in a nice layer of pine shavings. I made a low roost out of a sturdy tree branches. I wanted to keep the roost low at first as I didn’t know exactly what they needed. I quickly found out they were quick athletic. They not only were up on the roost immediately, but they were also walking all around on the inside ledge of the pallet. It was rather amusing. It didn’t take long before I decided to install the roost off the lower level of the coop.
Overall, I’m really pleased with the coop. It’s nice and comfy when it cold and/or windy. It has pretty good air circulation with the windows open. I may end up adding another window on the other side of the coop for cross ventilation, but I’ll see how they do as the weather gets warmer and they spend more time outside. I love that it’s very secure.
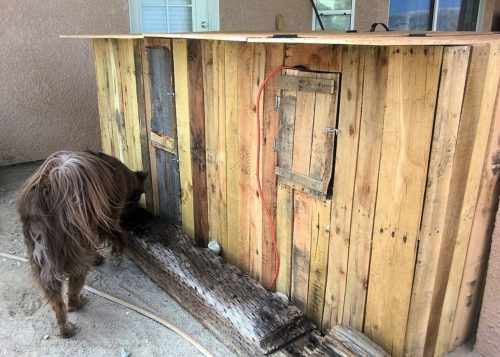
I can definitely see myself adding on to this coop. If you’re in a wet area, I would raise this up and create a run below the coop. I would also make sure the roof had a slant to it. It would be very easy to add additional “rooms” to the coop by adding on more pallet panels.
Next up… creating a good sized run for this crazy chicks.

