

When D said I could have chickens, I got super excited and immediately started planning the coop. We looked at those small coops at the feed store, but I honestly couldn’t justify the expense given how small they were. The materials were also not the best quality. The convenience aspect was certainly a draw as I would have a coop with small run within a couple of hours, but I passed.
One thing that I really wanted with this chicken experience was too keep the cost down while still having a quality, secure coop. The coop also needs to be able to be taken down when we move, so it has to either be portable or easy to take apart. The coop was going in the enclosed backyard, so it would be safe from the coyotes, mountain lion, bobcat…, but it still needed to be predator proof due to our pups as they both have high prey drives.
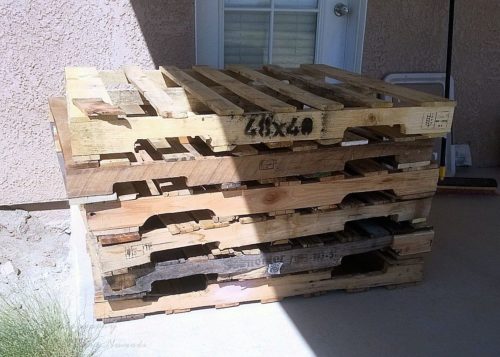
Slowly, a plan came together in my head. Munchkin and I picked up 6 pallets from Home Depot. (Normally, the only give away 2 or 3 at a time, but the manager cleared giving me 6. I said I was fine with only 2 or 3 as it was a start, but they loaded all 6 into the truck. Yes!) I had some other pallets out back by the horses, so I knew that I had some back-ups if I needed them.
I decided that the coop would be roughly 8 feet long by 4 feet wide which, for our pallets, was 2 pallets across and 1 deep. Because the coop needed to be able to be taken down, I thought doing everything in sections would be the best way to go. Each pallet would be it’s own panel. Once all the panels were done, then I would assemble them. It took a little more work this way, but it ended up working for me.
The first step was taking apart the pallets. I used the sawzall as it was faster and more efficient than trying to pry off each board. Plus, prying meant more board breakage which I needed to avoid. Originally, I was just going to take the boards off the back and add those boards to the front to cover the gaps in the front boards, but I quickly decided that I wasn’t going to achieve what I wanted using this method. Plus, I saw that the boards on the front of the pallet didn’t always line up with the end of the support boards which would leave large gaps in the finished coop, so I made some adjustments to the plan.
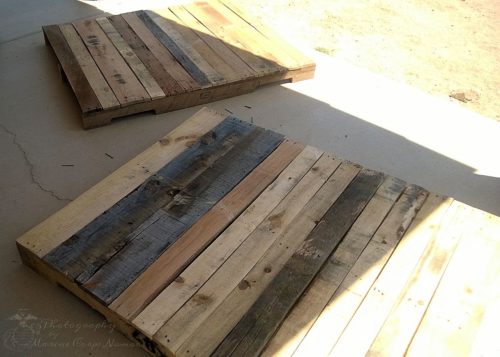
The first step was making sure the end boards on the front lined up properly with the support board ends. Once those were secured in place and I removed the rest of the front boards, I filled in the empty space between the end boards with the boards that I had removed from the front and the back of the pallet. This created pallet panels that has solid fronts with some small gaps.
I ended up with 3 solid panels, 1 panel with a window and chicken door/ramp, 1 panel with a human door, and 1 panel with a window. I plan on integrating a nesting box in one of the solid panels, but that will come a little later in the game. Once I had the panels, the assembly began on our cement pad. (If this were going to be a long term project, I would have made this into a two-story project, but that’s not the case for us as we’ll probably only be at this location for another year or so.)
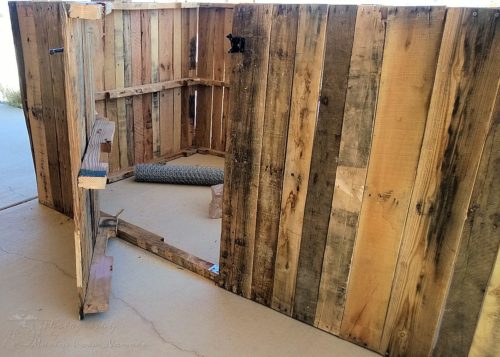
The panels are secured together with metal tie plates on the top and bottom. Because the pallets aren’t perfectly square, I didn’t completely secure them in place until we had squared up the entire coop as much as possible. We put a wood cross piece in the one corner as we needed a little more stability due to having the door in place. At this point, I chose not to put a floor in place, but it would be very easy to add a floor at a later date if I change my mind.
Looks fabulous! Very impressed.