
It took some time, but I finally have a method of yogurt making that produces consistent results for me. I’ve decided that making plain yogurt seems to produce the best yogurt, so we just sweeten (if desired) when we eat it. From the basic yogurt, I can then strain it to make greek yogurt as well as yogurt cheese.
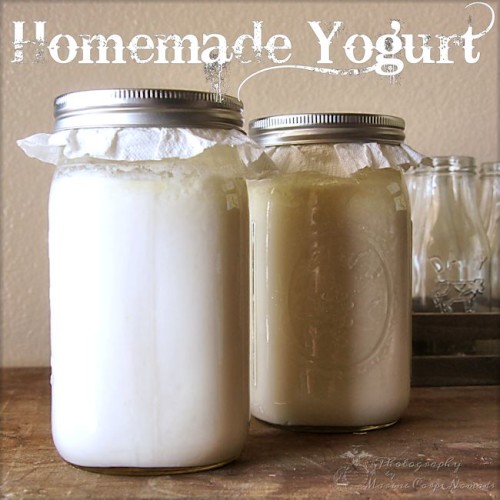
I like to make my yogurt 2 quarts at a time as that is roughly a week’s worth of yogurt for us. Because it’s easy to make, you can easily adjust how much you make at a time. I personally like to use my food dehydrator for yogurt making because it’s an easy way to control the temperature. Generally speaking, you want to keep the temperature of the yogurt between 70 and 78 degrees.
You use 1 Tbsp. of yogurt starter per cup of milk. For my yogurt, I use whole milk as well as a whole yogurt starter. I’ve used both a dried starter from Cultures for Health as well as a yogurt starter from the store. With the store bought, I use a plain whole milk yogurt that has live cultures. Once you have your first batch of good yogurt, you just reserve some of that new yogurt to use as a starter for the new batch.
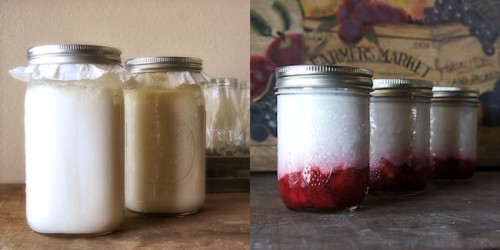
Since I use the quart jars to make my yogurt, I put 4 cups of milk and 4 Tbsp. of yogurt starter in my canning jar. I place a paper towel over the jar and secure it with a canning lid. After that, the jars are placed in the dehydrator for 12-18 hours until the yogurt sets. Once it has set up, it needs to rest in the fridge for roughly 6 hours prior to being used. If I find that the yogurt is a little thinner than I like or if I want more of a greek yogurt consistency, I will strain some of the whey off the yogurt using cheesecloth or a nutbag. (Don’t toss the whey is it is wonderful to use in baked goods!)

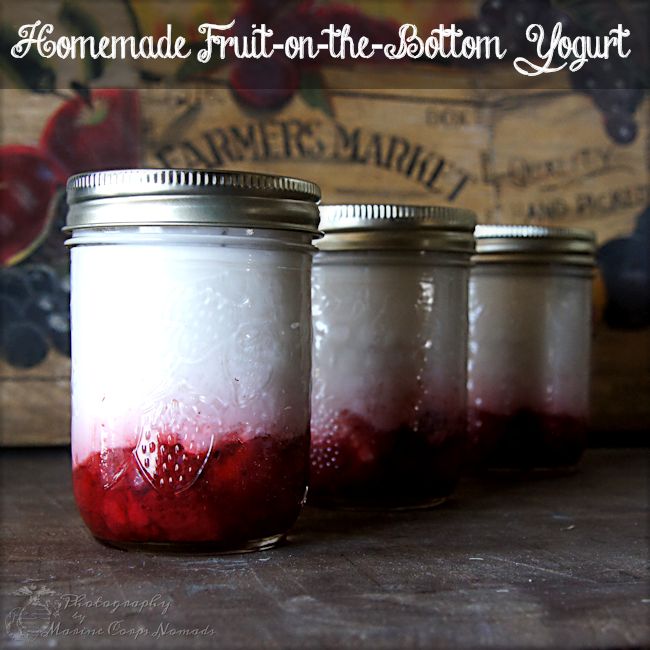
Because D really enjoys fruit-on-the-bottom yogurt cups, I have started to make my own using organic frozen fruit and the homemade yogurt. I use 6 oz. (half pint) canning jars for my yogurt cups which work great for him. Each jar gets 2 to 3 Tbsp. of the fruit which is topped by the plain yogurt. Before D eats his yogurt, he generally puts a little honey on top to add some extra sweetness. If your fruit doesn’t have a lot of juice or it’s a little tart, you may want to mix in some sugar, maple syrup, or honey to create a sweeter fruit with juice.
Homemade Yogurt
Ingredients:
- 1 Tbsp. yogurt starter
- 1 Cup whole milk
Directions:
- Stir 1 Tbsp. of yogurt culture into 1 cup of milk. (If you’re making a larger batch, just use 1 Tbsp. of starter per 1 cup of milk.) Put mixture in a jar.
- Cover the jar with a paper towel and secure in place. (You can use a canning ring if using a canning jar or just a rubber band.)
- Place in the dehydrator or in another location where the temperature will be consistently between 70 to 78 degrees F. It needs to remain undisturbed for 12 to 18 hours. You’ll know the yogurt is set when you tip the jar and the yogurt moves as one mass away from the side of the jar.
- Place in the fridge for at least 6 hours to stop the culturing process.
- When you use the yogurt, make sure you set aside enough yogurt starter for your next batch. To keep the starter healthy, you should make yogurt at least once every 7 days.
Fruit-on-the-Bottom Option
Ingredients:
- 2-3 Tbsp. of fruit per jar
- Sweetener (if desired)
- Homemade yogurt
Directions:
- If your fruit has plenty of juice and/or you don’t want added sweetener, you can skip this step. Place fruit in a bowl and add sweetener to your desired sweetness level. Allow to sit for 30 minutes to an hour before using to allow for a beautiful juice to be made.
- Spoon 2-3 Tbsp. of the fruit into the jar and top with yogurt.
- Store fruit-on-the-bottom yogurt in the refrigerator and use within a week.

- 1 Tbsp yogurt starter
- 1 Cup whole milk
- Stir 1 Tbsp. of yogurt culture into 1 cup of milk. (If you're making a larger batch, just use 1 Tbsp. of starter per 1 cup of milk.) Put mixture in a jar.
- Cover the jar with a paper towel and secure in place. (You can use a canning ring if using a canning jar or just a rubber band.)
- Place in the dehydrator or in another location where the temperature will be consistently between 70 to 78 degrees F. It needs to remain undisturbed for 12 to 18 hours. You'll know the yogurt is set when you tip the jar and the yogurt moves as one mass away from the side of the jar.
- Place in the fridge for at least 6 hours to stop the culturing process.
- When you use the yogurt, make sure you set aside enough yogurt starter for your next batch. To keep the starter healthy, you should make yogurt at least once every 7 days.
Ingredients:
2-3 Tbsp. of fruit per jar
Sweetener (if desired)
Homemade yogurt
Directions:
If your fruit has plenty of juice and/or you don't want added sweetener, you can skip this step. Place fruit in a bowl and add sweetener to your desired sweetness level. Allow to sit for 30 minutes to an hour before using to allow for a beautiful juice to be made. Spoon 2-3 Tbsp. of the fruit into the jar and top with yogurt. Store fruit-on-the-bottom yogurt in the refrigerator and use within a week.