On Tuesday, I went over some of the basics of lapbooking in part 1 of Lapbooking Made Easy. Today, I’m going to cover the organizational aspects of lapbooking.
What about all of those mini-books?
Two of the common questions when it comes to the mini-books deal with cutting out the mini-books and storing the mini-books, so I thought I’d address those two things first before moving into the storage of the lapbooks themselves.
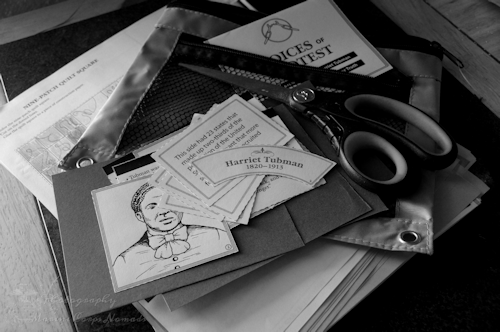
Once you start lapbooking, you are probably going to realize that there is a good deal of cutting involved when it comes to the mini-books, and you may start to wonder how other people deal with this. Do the kids do the cutting? Do the parents do the cutting? Do older siblings to the cutting? Truthfully, there is no one right answer for this question. Some parents like the idea of kids working on their cutting skills, so they allow the kids to cut out many of the basic mini-books and just cut out the more intricate shaped mini-books. Other parents (like me) find that it’s just easier to have all of the mini-books cut out ahead of time. I personally cut out lots of mini-books while watching tv or a movie at night with my husband as I’m not good at just sitting and watching.
After all of those mini-books are cut out, you have to decide on a way to keep them organized, so you don’t end up with missing mini-books when it’s time to assemble the lapbook. You may find that you prefer to cut out the mini-books and then assemble the lapbook right away. Your child would then just fill in the mini-books that are already in the lapbook. As I said previously, this can have a few drawbacks depending on the mini-books, but it’s still a good option. Another option is to store the mini-books in a ziplock baggy (or a 3-ring-binder zippered pencil storage case) until you need them. (I like to have one bag for “new” mini-books and one bag for already filled out mini-books.) If there are a great number of mini-books, you may want to paperclip the mini-books for each section/day together, so you can easily grab them.

How do I store all of these assembled lapbooks?
After some time working with lapbooks, you’ll probably want to start thinking about different storage methods or you’ll end up with lapbooks here and there all over the house. Because lapbooks are a learning tool, you’ll want the kids to have easy access to them (unless the kiddos are really little and will destroy them). There are two main methods that I use for lapbook storage, but I’m sure there are other good methods out there.
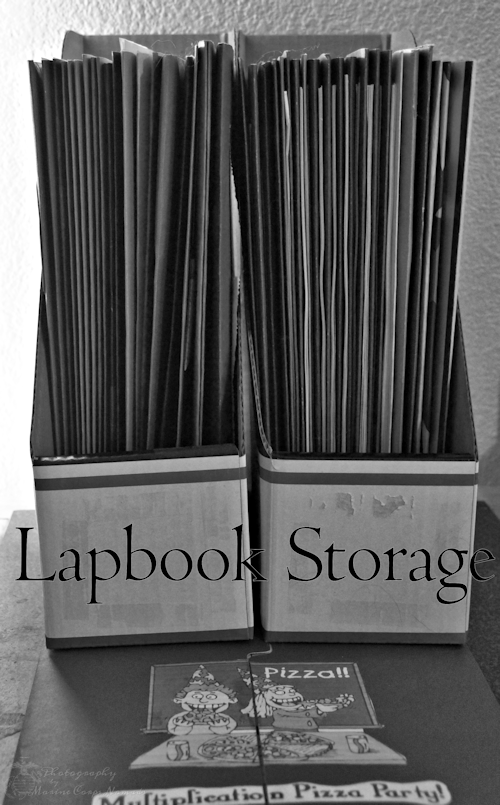
One of the easiest methods is just placing the finished lapbooks in magazine storage racks/holders. I’ve used both the display racks and the magazine holders. The magazine racks take up a little more space, but they allow you to show off the covers of the lapbooks. You can also use the type that mount to the wall if you have the wall space. The magazine holders come in a multitude of colors, styles, and sizes. They can be very inexpensive or very expensive depending on the material and the store of purchase. I just used the cardboard bankers box and personalized it which can also be a fun activity for the kids. You can store quite a few lapbooks in this style of magazine holder, but you can’t see the covers of the lapbooks.
Another method of storing lapbooks is placing them in 3-ring-binders. One of the first methods used for storing lapbooks in binders is just using the good-for-oh-so-many-things duct tape to create a strip along the side of the lapbook and using a hole punch to allow you to place the lapbooks in a binder. When we first did this, we didn’t have very many color choices available for the duct tape, but now there are all kinds of designer duct tapes that could really make this option fun and creative. The other option is to purchase 3-ring-binder adhesive strips to attach to your lapbook. Pear Educational Products has these available in a pack of 10 for $3.75. Either choice works, but I would recommend either placing these on before you assemble the lapbook or make sure that you leave room on the side of the lapbook for your tape/strip. It would be a bummer if you couldn’t use the tape/strip because there were mini-books too close to the edge.
Those are the basics for lapbook organization and storage. In the final post of the Lapbooking Made Easy series, I will cover some of the alternative lapbook methods.

interesting post 🙂 good tips 🙂 thanks
Jen recently posted..Cross Country Sports Afternoon